

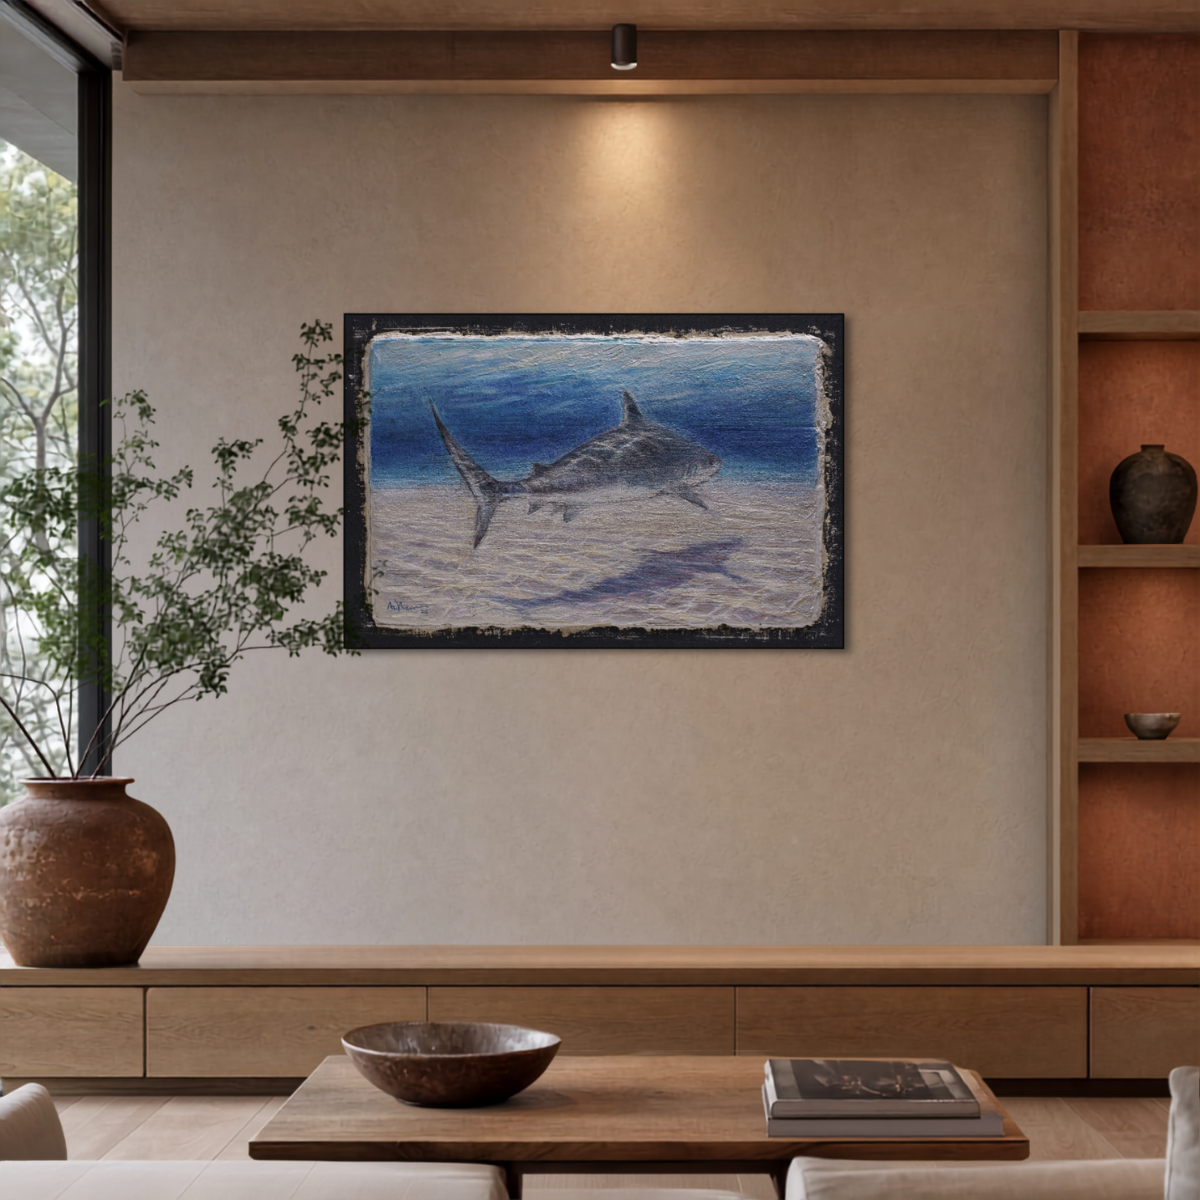
Fresco painting is a remarkable technique that combines artistry, chemistry, and architectural integration. Unlike paintings on canvas, frescoes become part of the wall itself, creating works that endure for centuries when executed correctly. While the beauty of a fresco is immediately apparent, the process behind it is complex, precise, and requires both careful planning and skilled execution. This article provides a step-by-step guide to how fresco painting works, covering everything from wall preparation to pigment application, from working with giornate to finishing and long-term preservation.
Preparing the Wall for Fresco Painting
Choosing and Preparing the Surface
The first step in fresco painting is ensuring that the wall is suitable for the technique. Frescoes are most commonly applied to masonry, plaster, or lime-based surfaces. Preparation involves:
-
Cleaning and smoothing the wall to remove dust, debris, or old coatings.
-
Repairing cracks or structural imperfections to create a stable base.
-
Applying a rough underlayer that will help subsequent plaster layers adhere properly.
The quality of the wall is critical; any weakness can compromise the durability and integrity of the fresco.
Creating a Solid Foundation
After cleaning, artists typically apply a rough plaster base layer, known as arriccio. This layer provides a stable surface for the fresco and absorbs moisture from subsequent plaster layers. The arriccio is usually coarse, helping the final, smooth plaster layer bond effectively. Properly executed, this base ensures the longevity of the artwork for centuries.
Understanding the Fresco Layers: Arriccio, Sinopia, and Intonaco
Arriccio — The Base Layer
As mentioned, arriccio is the first layer of plaster. It is made from lime and sand and is applied thickly.
-
Function: Provides structural stability and absorbs excess moisture.
-
Typical thickness: Several millimeters to ensure a firm foundation.
Sinopia — The Underdrawing
Once the arriccio dries, artists create the sinopia, an underdrawing made using red ochre or charcoal. This layer outlines the composition, indicating where figures, architectural features, and decorative elements will be placed. The sinopia serves as a guide, allowing the artist to plan proportions before applying the final plaster.
Intonaco — The Final Plaster Layer
The intonaco is the smooth, fine layer of lime plaster applied over the sinopia. It is onto this wet surface that pigments are applied in the buon fresco technique.
-
Thickness: Thin enough to dry uniformly, usually 2–3 mm.
-
Importance: The quality and smoothness of the intonaco directly influence the final appearance and durability of the fresco.
Mixing and Applying Pigments
Choosing Pigments
Fresco pigments are exclusively mineral-based, chosen for their stability in the highly alkaline environment of wet lime plaster. Common pigments include:
-
Ochres: Red, yellow, and brown.
-
Iron oxides.
-
Ultramarine: Derived from lapis lazuli.
-
Charcoal black.
-
Natural greens: Derived from copper-based minerals.
Mixing and Application
Pigments are mixed with water to create a thin, fluid paint. In buon fresco, no additional binder is required. The water allows the pigment to penetrate the wet intonaco and bond chemically as the plaster dries. Once the intonaco is ready, the artist paints directly onto the surface. The chemical reaction between lime and carbon dioxide ensures that pigments are absorbed into the plaster, creating a permanent, integrated image.
Working with Giornate
What is a Giornata?
A giornata (Italian for “day’s work”) refers to the section of plaster an artist can complete in a single working session before it dries. Because the plaster must remain damp for pigments to bond, the size of each giornata is dictated by the artist’s speed, the complexity of the composition, and environmental conditions like humidity.
Planning and Execution
Large fresco projects are built one giornata at a time. Artists plan the work carefully using sketches or cartoons to ensure the composition remains consistent across multiple sections. Historically, assistants would prepare plaster and pigments, allowing the master artist to focus on the most critical and detailed areas.
Finishing, Curing, and Long-Term Stability
Curing Process
Once the fresco is complete, the chemical process of carbonation continues. Lime plaster reacts with carbon dioxide in the air, hardening into a stone-like surface.
-
Curing time: The initial drying takes several hours, but full carbonation may continue for weeks.
-
Environmental impact: Stable, dry conditions are essential for proper curing and long-term preservation.
Longevity and Preservation
Properly executed frescoes can last for centuries. Factors influencing longevity include the quality of wall preparation, the stability of the building structure, the use of mineral pigments, and controlled humidity. Fresco’s chemical and structural integration with the wall allows it to survive conditions that would quickly degrade canvas paintings.
The Significance of Understanding Fresco Technique
Fresco requires a rare combination of planning, precision, and confidence. Each brushstroke is largely irreversible, meaning the artist must have a clear vision and mastery of the medium. Unlike paintings on canvas, frescoes become part of the architectural environment, transforming rooms and ceilings into immersive experiences.
Fresco painting is a remarkable combination of art, science, and craftsmanship. From preparing walls and layering plaster to mixing pigments and working with giornate, the technique demands both skill and precision. Understanding this step-by-step process not only enhances appreciation for the medium but also provides insight into the dedication of the artists who have mastered it over thousands of years.
Buon Fresco vs Fresco Secco: Understanding the Key Differences in Mural Techniques
The Materials of Fresco: Lime Plaster, Pigments, and Tools