

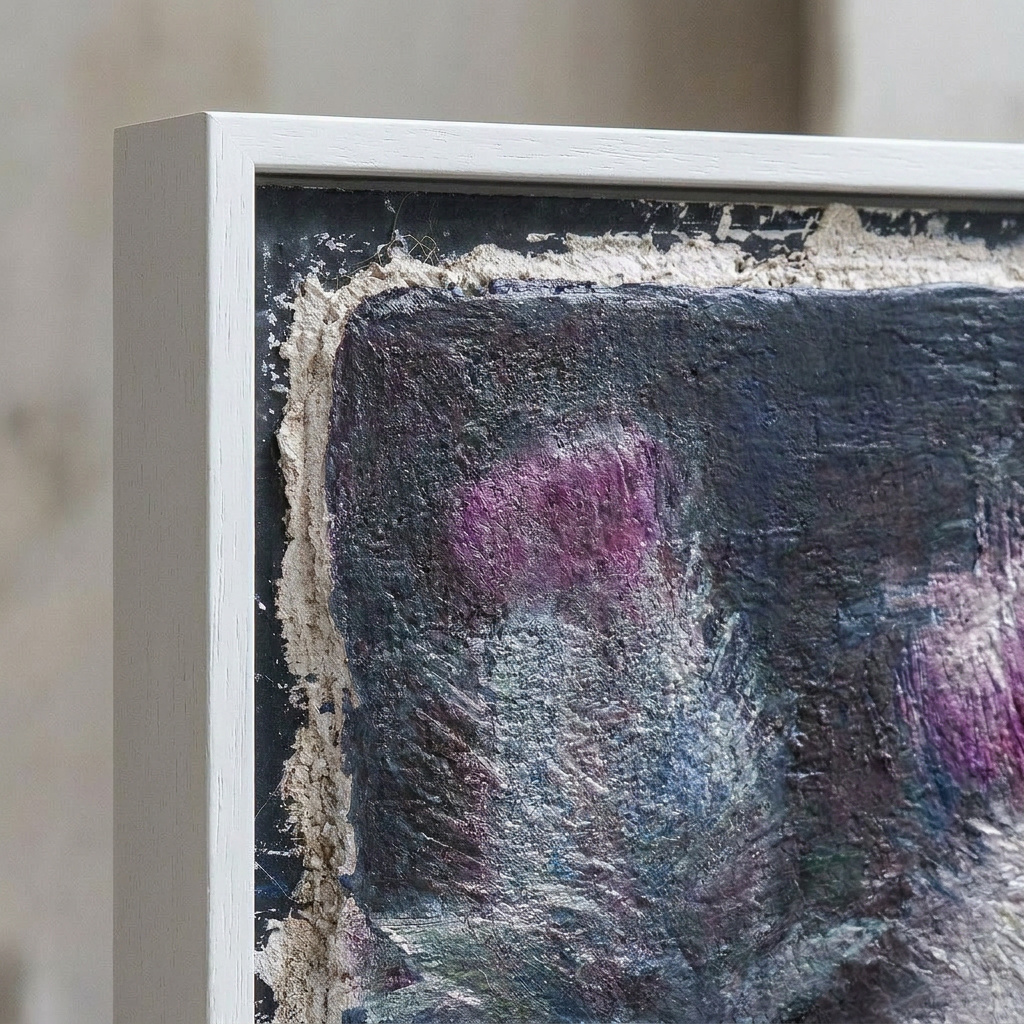
1. Framing Hahnemühle Paper — Preserving the Beauty of Fine Art Prints
Hahnemühle paper is synonymous with premium quality in fine art, photography, and giclée prints. With its archival properties, textured surfaces, and delicate structure, it demands careful handling when framing.
Choosing the wrong frame, mat, or installation method can damage the paper, cause warping, fading, or staining, and compromise the artwork’s longevity.
This guide provides a comprehensive overview of frames suitable for Hahnemühle paper, along with safe mounting and installation techniques that protect the paper while presenting it elegantly. Artists, collectors, and galleries can ensure every print remains pristine for decades.
2. Understanding Hahnemühle Paper and Its Needs
Characteristics of Hahnemühle Paper
-
Textures: Rough, cold press, smooth
-
Weights: 190–350 gsm typical; heavier boards for fine art prints
-
Surface: Designed for inks and watercolors; sensitive to pressure and moisture
-
Archival quality: Acid-free, lignin-free, pH neutral
Risks of Improper Framing
-
Compressed fibers
-
Permanent creases
-
Moisture or mold damage
-
Ink bleeding or fading
3. Why Proper Framing Matters
-
Protection from physical damage: Avoid pressing the paper against glass.
-
Environmental stability: Proper mounting prevents warping from humidity.
-
Long-term preservation: Acid-free mats and UV-protective glazing prevent fading.
Without careful framing, even premium paper and archival inks can deteriorate rapidly.
4. Types of Frames Suitable for Hahnemühle Paper
Wood Frames
-
Acid-free finishes
-
Hardwood: oak, walnut, maple
-
Deep profiles to prevent contact with glass
Wood frames provide structural stability, preventing bending or warping.
Metal Frames
-
Lightweight yet strong
-
Minimalist aesthetic
-
Often paired with float mounts or spacers
Metal frames are ideal for contemporary prints.
Floating Frames
-
Creates a gap between paper and frame
-
Prevents edges from being pressed
-
Showcases full edges of textured papers
Shadow Boxes
-
Deep frames allow the artwork to “hover”
-
Protects fragile or highly textured papers
-
Can accommodate heavier archival mats
Acrylic / Frameless Glazing
-
Lightweight protection
-
Reduces weight for large prints
-
Protects against dust and environmental fluctuations
-
Always use spacers to avoid direct contact with paper
5. Safe Mounting Techniques for Hahnemühle Paper
Use Acid-Free Mats
-
Create a buffer between paper and glazing
-
Reduce exposure to moisture
-
Prevent physical contact with the surface
-
Always use acid-free, lignin-free mats
-
Maintain at least a 3–5 mm gap between paper and glass
Dry Mounting vs Hinging
-
Avoid dry mounting: Heat-press adhesives can distort paper and damage ink
-
Use hinging:
-
Japanese paper hinges: thin, acid-free, strong at corners or edges
-
Archival gummed linen tape: allows slight movement due to humidity
-
-
Hinges attach to mat or backing, not directly to the print face
Backing Boards
-
Acid-free and rigid, but not heavy enough to press the paper
-
Slightly smaller than the frame to avoid edge pressure
-
Avoid MDF or particle boards
6. Installing Hahnemühle Prints in Frames
Step 1: Prepare Workspace
-
Clean, flat, dry surface
-
Wash hands or wear cotton gloves
-
Gather mat, hinges, frame, backing board, spacers, and glazing
Step 2: Mat and Hinge the Print
-
Attach hinges to mat or backing board
-
Allow for expansion and contraction
-
Center and level the print
Step 3: Use Spacers for Glass or Acrylic
-
Place archival spacers between glazing and paper
-
Prevents direct pressure
-
Protects textured surfaces
Step 4: Insert the Backing Board
-
Ensure the print sits evenly
-
Avoid tight pressure at edges
Step 5: Secure the Frame
-
Use clips, turn buttons, or adjustable fasteners
-
Avoid nailing through the print
-
Tight enough to hold components but loose enough to prevent compression
7. Hanging Techniques for Hahnemühle Art
-
Use strong hardware: D-rings with braided wire, French cleats, Z-bar systems
-
Avoid direct sunlight and high humidity
-
Hang vertically and level
-
Periodically check for loosening of clips or wire
8. Examples of Frames and Methods
Small to Medium Prints (20–50 cm)
-
Simple wood or metal frame
-
Archival mat with 3–5 mm gap
-
Japanese paper hinges
-
Lightweight glass or acrylic
Large Prints (50–120 cm)
-
Floating or shadow box frame
-
Spacers to prevent contact
-
Archival backing board
-
French cleat for hanging
Textured or Watercolor Papers
-
Shadow box frames
-
Avoid dry mounting
-
Thicker mat or archival foam core
-
UV-filtering acrylic
Multi-Piece Prints or Series
-
Consistent frame style
-
Equal mat spacing
-
Same hinge and mounting system for uniform preservation
9. Long-Term Care of Framed Hahnemühle Prints
-
Dust lightly with a soft microfiber cloth
-
Avoid moisture, sprays, or cleaning solutions
-
Monitor humidity (40–60%) and temperature (18–22 °C)
-
Inspect annually for warping, mold, or loose hinges
-
Re-mount using fresh archival materials if needed
Proper framing balances aesthetic presentation and archival protection, ensuring Hahnemühle prints remain visually striking while preserved for decades.
Fresco Cartoons: How Full-Scale Preparatory Drawings Guide Wall Murals
DIY Fresco at Home – Small Panels and Practice Projects